
Three hands-on tweaks I use on mall shirts: snap pliers, a wedge dart, and a waistline hang check that stops the constant tugging.
Dritz snap between the buttons (the fix no one notices)
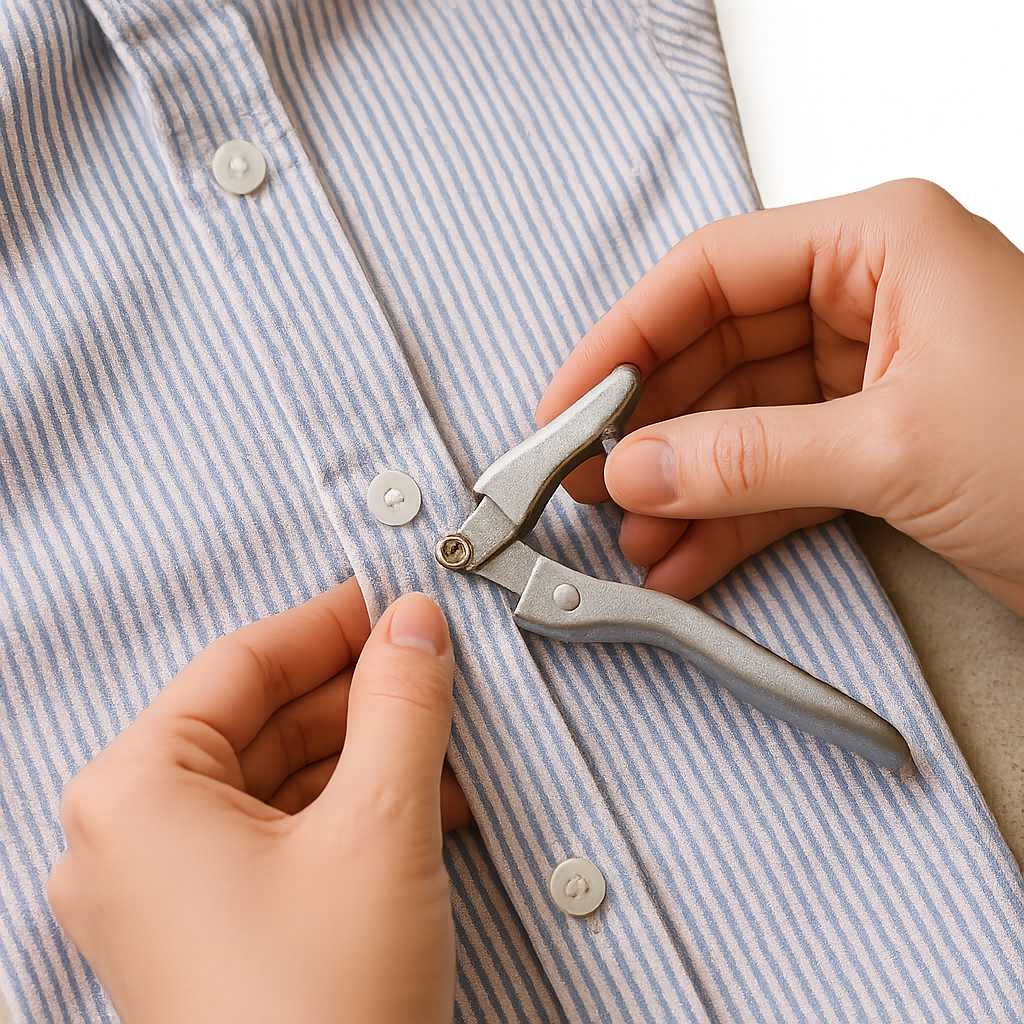
The most annoying thing about off-the-rack button-downs is that they fit everywhere except the exact spot you need them to behave. You stand up straight, you breathe, and the shirt politely reveals your bra or undershirt between two buttons like it has a grudge. My go-to fix is a single, tiny sew-on or no-sew snap placed between the offending buttons so the placket stays flat without changing the shirt’s shape.
I use the Dritz Snap Pliers (or any decent snap-plier kit) with a matching set of size 16 snaps. Pick one that feels strong enough to hold but not so stiff you have to fight it. Put the shirt on, button it the way you normally wear it, then pinch the placket closed where it gaps. Mark that exact point with a washable fabric pen or a sliver of painter’s tape. Take the shirt off and look at the inside: you want the snap halves to land on the inner placket layers, not through the outer visible side where the cap could show.
Two practical notes from doing this on a cramped bathroom counter: (1) Use a small scrap of fusible interfacing on the inside if the fabric is thin or stretchy. It gives the snap something to bite into and keeps it from rippling after a few washes. (2) Test the placement by closing the snap and then rebuttoning the shirt. If the snap forces the placket to buckle, you set it too close to the buttonhole side. Move it a hair toward the center so the tension is shared instead of concentrated.
Once it’s set, the shirt looks unchanged from the outside. No extra button showing, no pinhead glint. You just get that smooth, unbothered front panel you thought you were paying for in the first place.
A 10-minute wedge dart that fixes a back-waist bubble
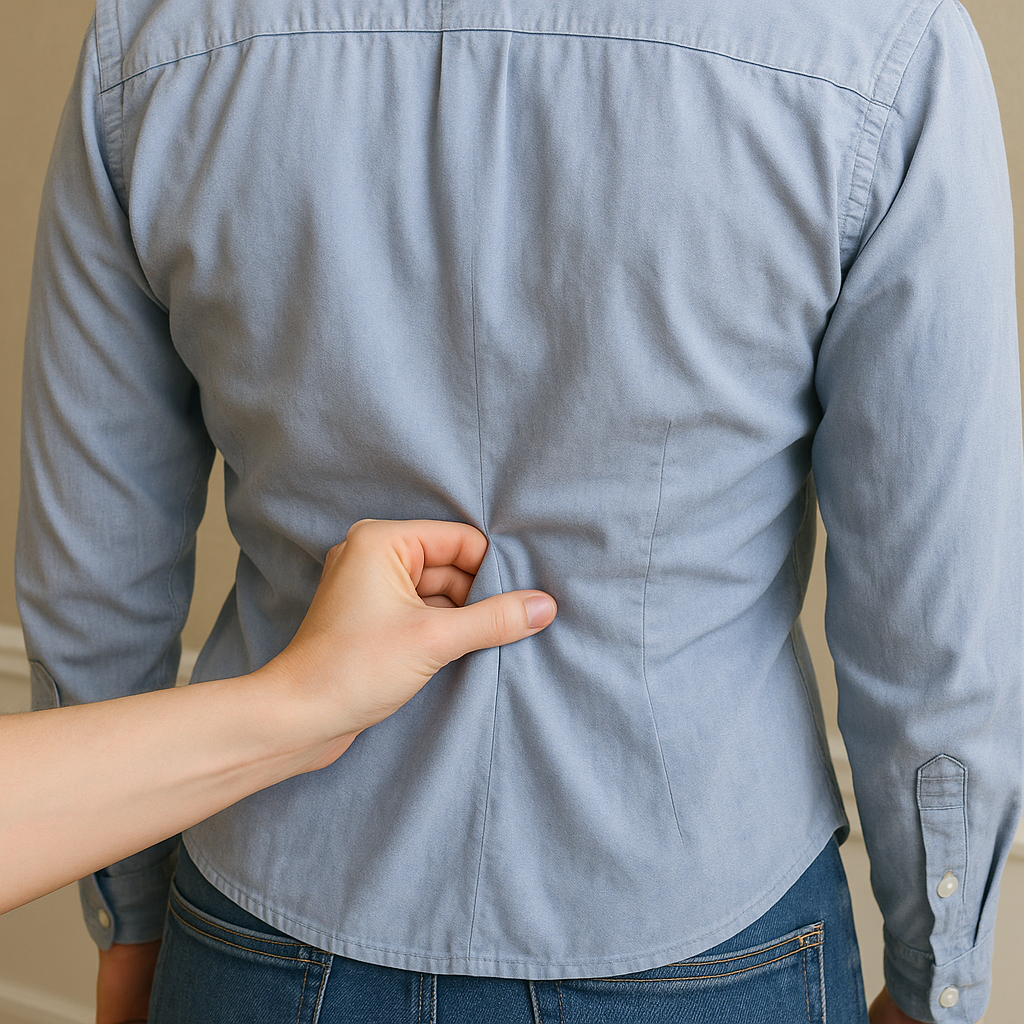
Some button-downs do the opposite of gaping: they behave in front, then balloon at the small of your back like they’re trying to catch a breeze. It’s usually a grading issue, the brand cut the shirt for a straighter torso, and your body isn’t auditioning for that role. You can take it in without turning it into a stiff, obvious “altered” shirt by adding one shallow wedge dart at the center back or two small darts near the side-back area.
I do this with the shirt inside out, buttoned, and worn over whatever you normally wear under it. Stand naturally. Don’t suck in. Pinch the excess fabric at the back waist until it lies smooth. That’s your intake. If you’re new to darts, start conservative: take less than you think, because you can always deepen it.
Mark the dart: I aim for a long, gentle triangle rather than a short, pointy one. A long dart blends. A short one makes a pucker you can spot across a room. For a center-back dart, I usually start it a couple inches below the shoulder blades and taper it down toward the hem, stopping 1 to 2 inches above the bottom edge so the hem can still hang clean. For two side-back darts, place them roughly under the back of the armhole and angle slightly toward the waist. Press the fold flat with a warm iron (use steam if the fabric tolerates it), then stitch from the wide end toward the point, reducing stitch length slightly as you approach the tip. Leave long thread tails and tie them off instead of backstitching right at the point. Backstitching there is what creates that little dart zi bump.
After stitching, press again. First press the dart as sewn to set the stitches, then press it toward the center back (for side darts, press toward the center as well). This is one of those boring steps that makes the difference between nice fi and “why is it lumpy.” If the shirt is a crisp poplin, the iron is half the alteration.
Result: the shirt stops doing that tent thing when you sit, and the waist looks intentionally shaped without messing with the shoulders, collar, or sleeve pitch.
The waistband hang test before you hem or crop anything
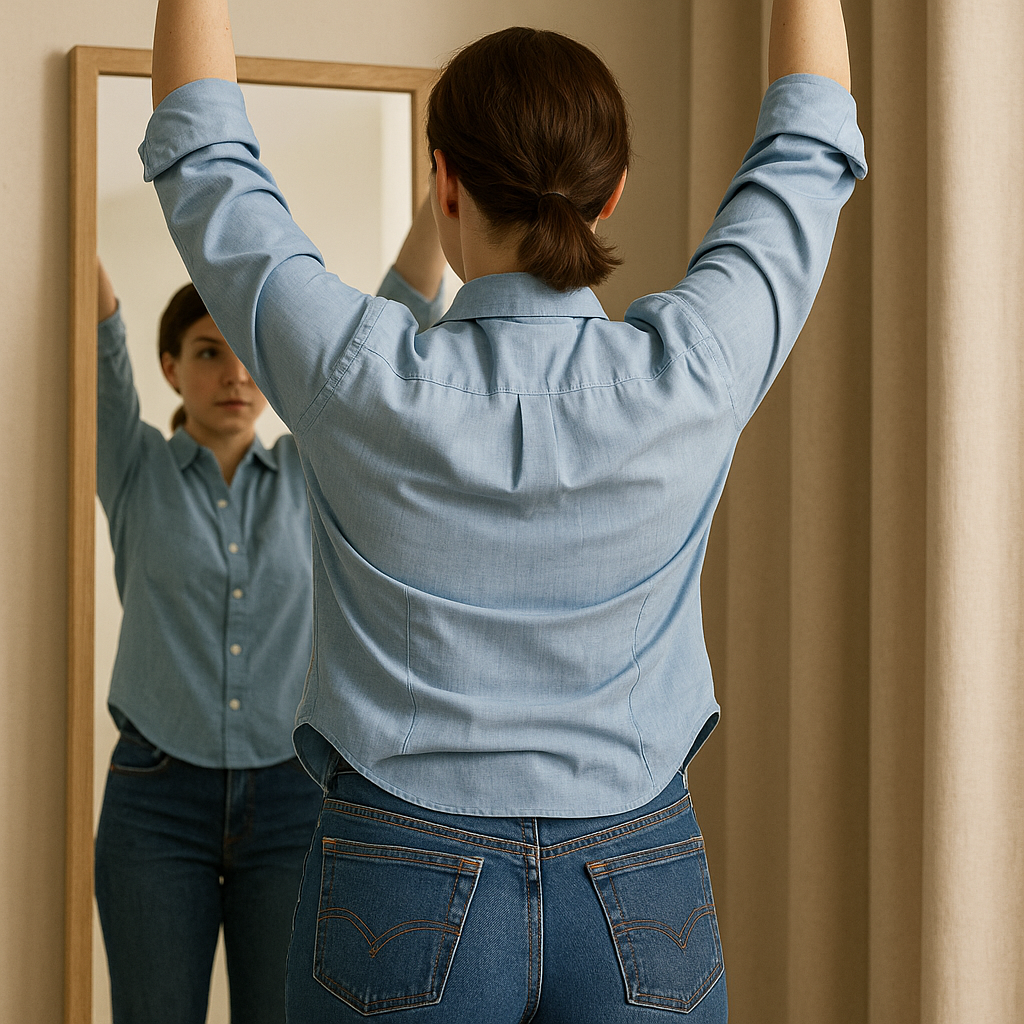
There’s a specific kind of off-the-rack annoyance that isn’t about size at all: the shirt that rides up, twists, and makes you keep tugging the hem down every time you stand up. People blame the shirt length and go straight to hemming or cropping. Half the time, the real issue is how the shirt is hanging off your waistband and hips. I call it the waistband hang test, and it saves you from fixin the wrong thing.
Put on the pants you wear most with that top (for me it’s usually a pair of Levi’s 501s or a mid-rise work trouser). Wear the shoes you actually walk around in, because posture changes hem behavior. Button or zip everything. Now do three moves in front of a mirror: sit, stand, then raise your arms like you’re grabbing something off a top shelf. Watch what the side seams do. If the side seams swing forward and the front hem hikes up, the shirt is catching at the widest part of your hips. If the side seams swing backward and the back hem crawls up, the fabric is hanging up over your seat. Either way, chopping the bottom shorter doesn’t stop the catching. It just gives the fabric less weight to fall back into place.
The low-fuss fix I use is a tiny side-seam hem split or a curved hem tweak, depending on the shirt. For a straight-hem woven shirt, open the last 1 to 2 inches of the side seam at the bottom (with a seam ripper), press the seam allowances flat, and hem the front and back edges separately so the side can release when you sit. It’s the same reason some menswear shirts have a little vent. For a tee or knit top that twists, I reshape the hem into a subtle shirt-tai curve: a little shorter at the side seam and slightly longer at the front/back, which stops the side seam from acting like a hinge. Use a twin needle if you want it to look store-bought, but a narrow zigzag works fine on a home machine.
After that, repeat the sit-stand-reach. The weird tugging usually disappears, and you didn’t have to gamble on a dramatic new length.