
Three repurposes I trust: a knit tee to neck band, a sweater to cuffs, and a skirt to a facing that keeps waistbands calm.
Use a T-shirt as a neck band, not as a whole new shirt
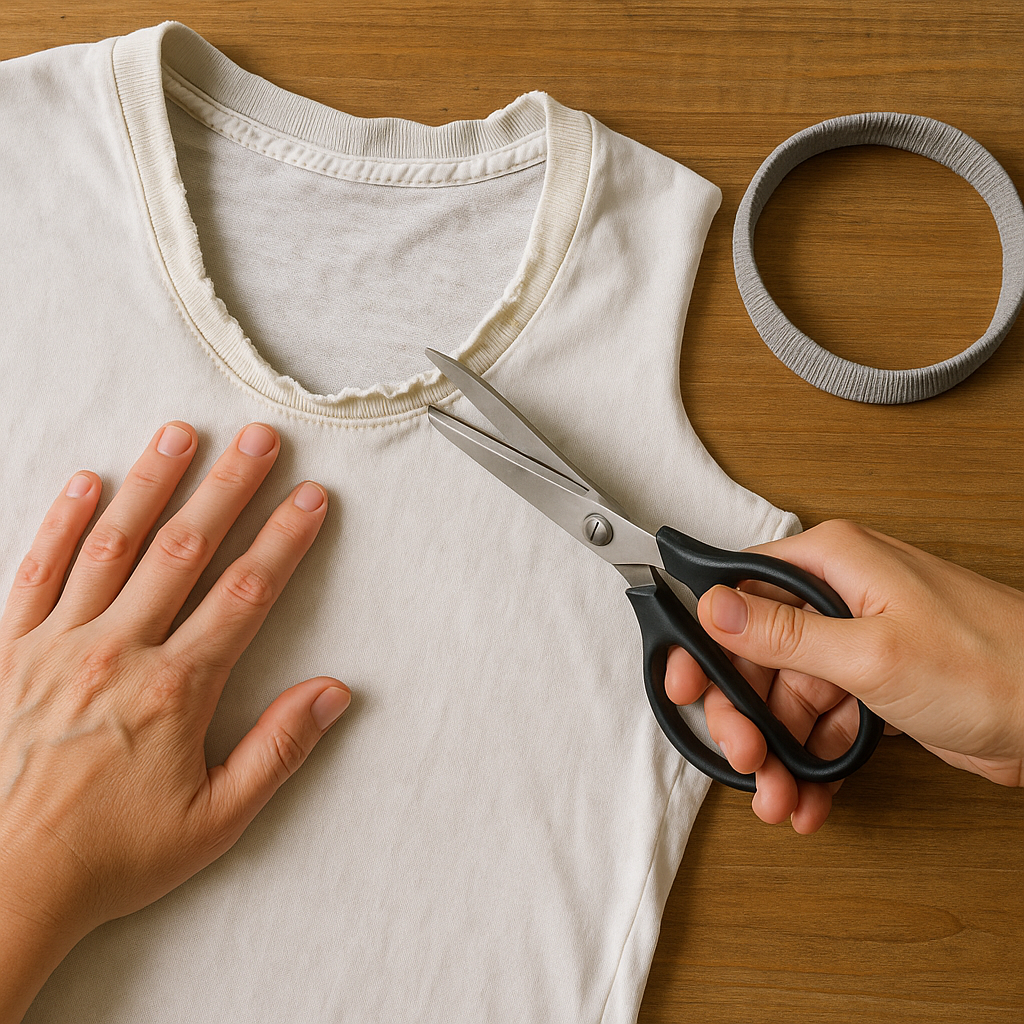
Every time someone tells you to “turn an old tee into a new top,” what they usually mean is: cut it up until the neckline waves, the shoulder seam crawls backward, and you end up with a shirt that twists around your torso all day. Knit doesn’t forgive random cutting. It either has structure (rib knit bands, stable hems) or it turns into a sad lettuce edge the second you stretch it wrong.
The repurpose that has never failed me is stealing a neck band from a dead-but-soft T-shirt and using it to fix or finish another knit top. Here’s why it works: the neck band is already designed to stretch and recover, and it’s usually made of ribbing or at least a tighter knit than the body. You’re not asking it to do a new job.
What I do: I cut the donor tee’s crew neck out with about a 1 inch border around the band so I have room to true it up. Then I open one spot in the band seam so it lies flat, press it, and measure its relaxed length. For most necklines, you want the band a little shorter than the opening so it hugs instead of gaping. I like around 85% to 90% of the neck opening length for a typical cotton jersey. Pin or clip it quarter-to-quarter (center front, center back, shoulders), then sew with a narrow zigzag or a serger if you’ve got one. The boring-but-important part is pressing afterward: seam allowance toward the body, steam, and let it cool flat so it sets. If you skip that, the neckline looks homemade even if your stitching is clean.
The win is fit, not vibes. You keep the original shirt’s shoulder and torso shaping, and you replace the one area that screams “worn out.” Also, it costs exactly one ruined tee and about twenty minutes, which is the only kind of repurposing I have patience for.
Sweater cuffs make the best invisibl sleeve fix
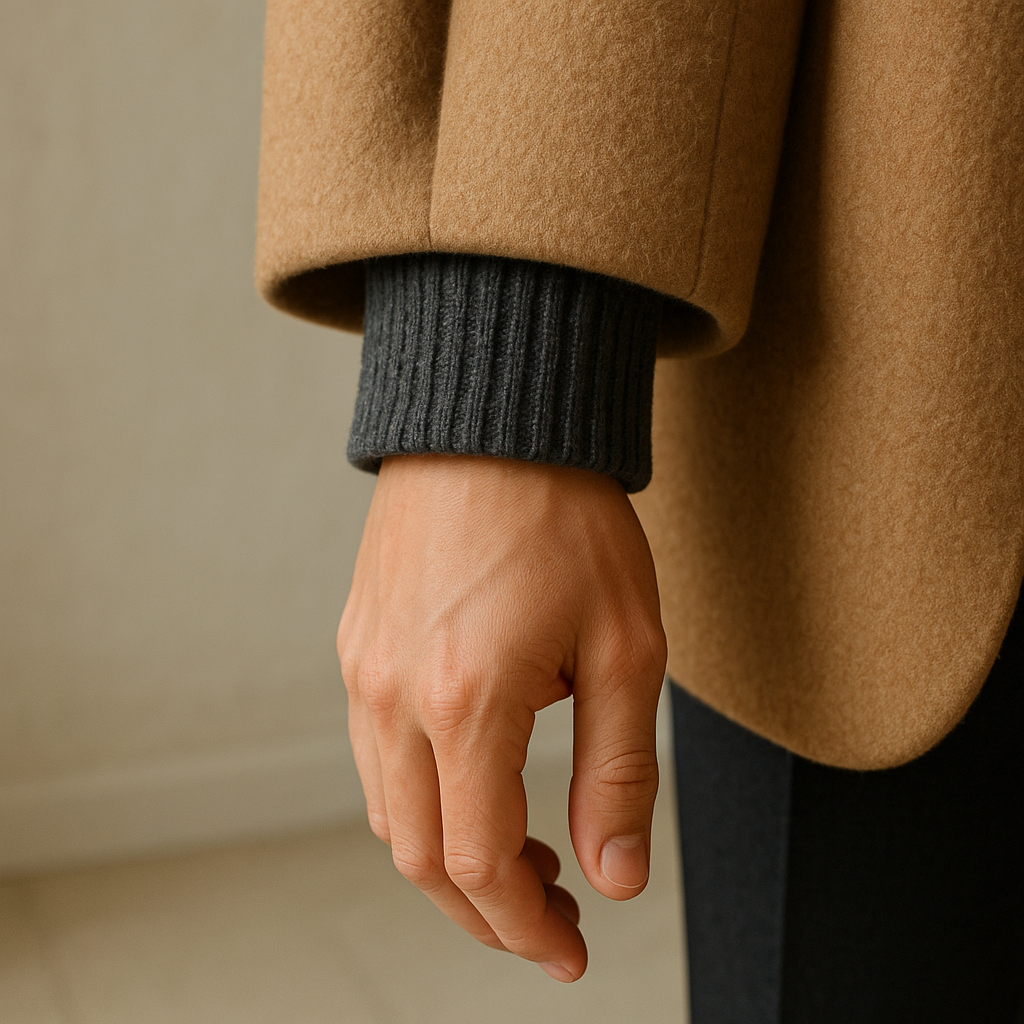
I used to think sleeve length was just a hem problem. Then I bought a gorgeous secondhand wool coat with sleeves that hit right at the wrist bone, which is the exact spot where your hands look slightly too big and you feel slightly too exposed. Hemming didn’t help because there was nothing to hem. I needed length without turning the sleeve into a bell.
Enter the sacrificial sweater. Old merino crewnecks, cotton fisherman knits, even that acrylic cardigan that pilled on day two. The cuffs are gold: they’re tighter, they recover after stretching, and they look intentional when they peek out. This is repurposing that reads like styling, not a craft project.
My method is simple and doesn’t require you to draft anything fancy. I cut the sweater sleeves off a few inches above the cuff so I have extra fabric to work with. Then I decide how much extension I want on the target garment. One to two inches showing is plenty; more than that can look like you forgot to take off a layer. I open the seam on the donor sleeve piece and reshape it into a tube that matches the circumference of the coat or blazer sleeve opening. You can do this on a machine with a straight stitch if you’re attaching to a woven sleeve, or a zigzag if you’re attaching knit to knit.
Here’s the tailoring detail that makes it sit right: I treat it like a facing/cuff insert, not like a floppy add-on. I hand tack (just a few stitches) at the underarm seam and sometimes at the side seams so it can’t rotate. Rotation is what makes repurposed pieces feel fussy because you’re always yanking them back into place. If the original sleeve has a lining, I either slipstitch the lining to the inside of the insert or I keep the insert shallow so it doesn’t fight the lining at all.
The first time you wear it out, you’ll notice the payoff in motion. Your sleeve stays put when you reach for a coffee, and you get that little frame of texture at the wrist that makes a thrifted outer layer look more deliberate. People assume it came that way. That is the point.
Cut a skirt into a waistband facing to stop rollovers
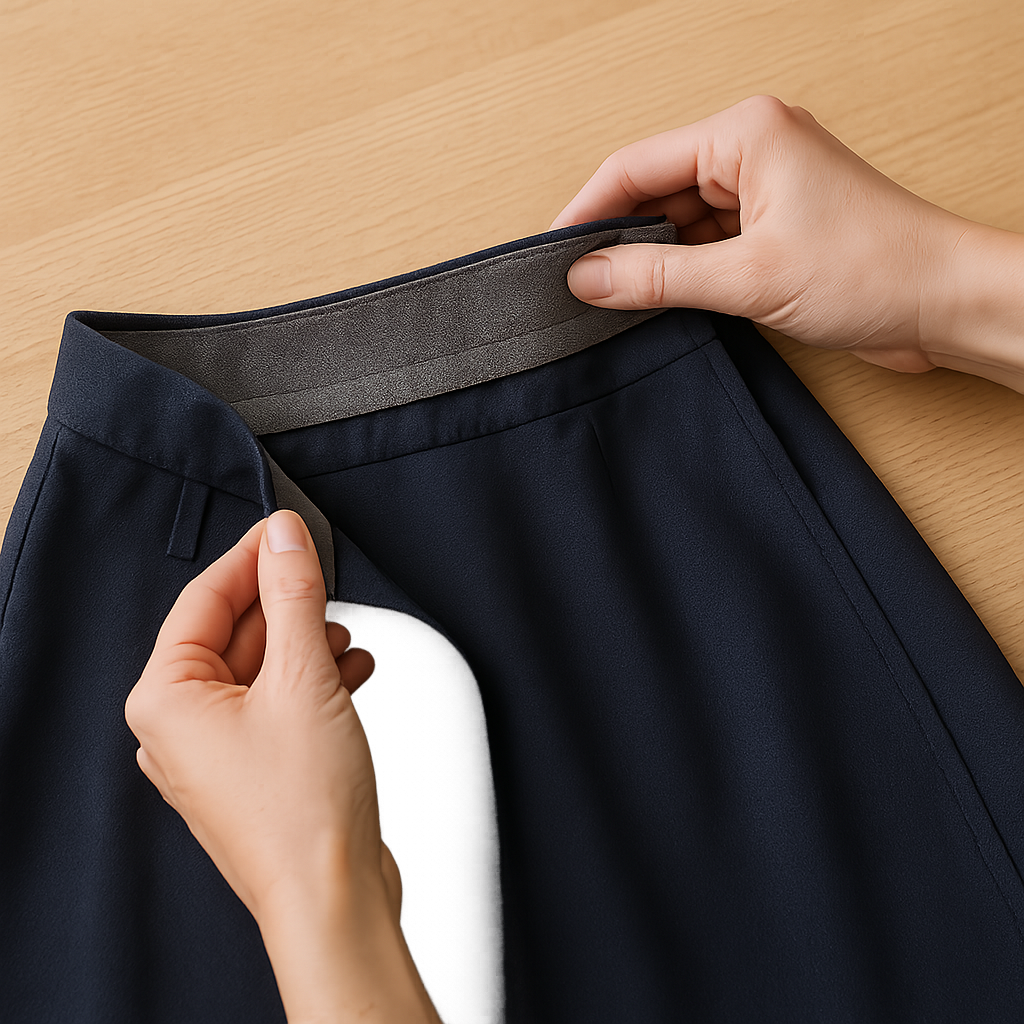
The most common repurpos move I see is chopping a skirt into a mini and calling it done. Cool, but it doesn’t solve the thing that makes older skirts feel unwearable: the waistband that collapses, rolls, or digs because the inside is basically a scratchy strip of interfacing that gave up years ago.
My favorite quiet fix is turning an old skirt (or the bottom portion of a dress you’re retiring) into waistband facings for other pieces. It sounds fussy until you do it once. Then you realize it’s mostly tracing and pressing, and the finished result looks like a nicer garment, not a repaired one.
Here’s the scene: you’ve got a thrifted A-line skirt that fits in the hips but the waist feels like it’s trying to accordion itself every time you sit. Instead of messing with the outer waistband (which is visible and easy to botch), you add an inside facing cut from stable fabric. Look for a woven with a little body: old cotton poplin, a shirt cuff area, even the waistband section of another skirt. I avoid very stretchy knits for this because they don’t anchor anything.
Process: unpick the waistband enough to access the inside (usually just at the side seam or center back), then draft a facing by tracing the top edge shape plus seam allowance. The facing only needs to be about 2 to 3 inches tall. Interface it if the fabric is flimsy. Sew the facing to the inside top edge, understitch if you can, then flip it down and stitch-in-the-ditch from the outside at the waistband seam. If you hate stitch-in-the-ditch, you can hand slipstitch the lower edge of the facing to the skirt’s seam allowances. It takes a little longer, but it lies flatter.
The payoff is immediate when you wear it for a full day. The waistband doesn’t roll into a hard cord, and the skirt stops migrating. And because the fabric came from another garment, you can often match color and weight so closely that it just looks like the skirt was made with a better interior finish in the first place. That is my kind of repurposing: not dramatic, just smarter on the inside where fit lives.