
Three thrift-store tailoring moves I use: shoulder pin-checks, a waistband reshuffle, and lining-friendly hem fixes.
The shoulder check I do in the aisle (before I even try it on)

I love a thrift-store bargain as much as the next person, but shoulders are where I stop romanticizing. If the shoulder seam is hanging off your shoulder bone by an inch, the rest of the fit is going to look like you borrowed the garment from someone taller, even if the waist and hips are fine. Shoulder alterations are doable, but they are not my “easy win” when I’m trying to make secondhand look intentional.
Here’s the aisle test I use when the fitting rooms are closed or the line is ridiculous. I hold the jacket, blazer, button-down, or dress on a hanger in front of me and line the collar up with my neck (like I’m about to put it on). Then I eyeball where the shoulder seam would land. The seam should hit right at the corner where your shoulder starts sloping down. If the seam is way past that point, it’s a pass unless I’m willing to pay a tailor for real work.
Then I do a quick pinch test at the upper arm. If the sleeve head looks okay but there’s a bunch of fabric ballooning behind the arm, it often means the back is cut wide (fine) while the shoulders are still close enough to work (good). If the whole top is collapsing off the hanger and the sleeve cap is drooping, it’s usually too big in the shoulder and it will read “thrift” no matter how much you nip the side seams.
My other non-negotiable: check the shoulder pads. If it’s a vintage blazer with pads stitched in, great, I can remove or swap them. If the pad is fused into the lining in a way that feels crunchy and stiff, I know I’m about to hate the process. I keep a tiny tape measure in my bag, but honestly, your hands tell you most of this. Shoulders are architecture. If the bones are wrong, you can hem and take in all day and it still won’t look like it was made for you.
Reshaping a thrifted waistband without chasing the hips
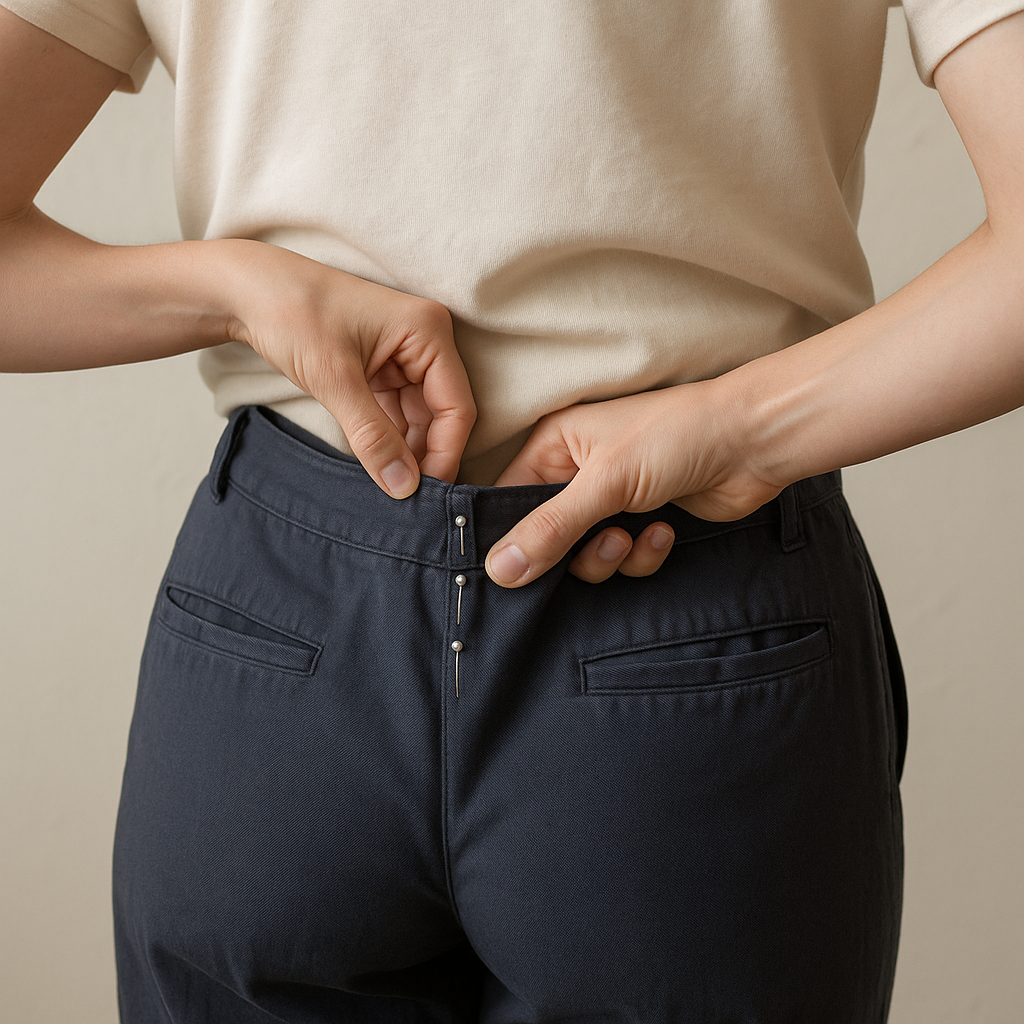
This is the thrift-store situation I run into constantly: trousers that skim the hips perfectly (rare!) but gap at the back waist, or a skirt that sits great through the seat and then does that little shel thing at the waistband when you bend. The mistake people make is going after the side seams because it feels straightforward. But if you take in the sides to fix a waist gap, you can wreck the hip line fast, especially on anything with pockets or a pleat.
What I do instead is treat the waistband like its own piece of engineering. If I’m doing it at home, I use two tools: chalk and pins. Put the bottoms on inside out, buttoned and zipped. Stand normally, then pinch out only the extra at the back waist until it feels snug. Pin it vertically at center back first, then split the difference with two more pins a few inches to either side. You’re not trying to create a dramatic hourglas moment. You’re trying to make the waistband stop lifting off your body.
Now look at where your pins are. If all the excess is right at center back, a simple center-back take-in at the waistband is usually enough. If the pins spread toward the side seams, you’re dealing with a waistband that’s too straight for you. That doesn’t mean the garment is bad. It means the waistband needs a little curve. A tailor will open the waistband, take a wedge out of the band, and blend it so you don’t end up with a weird pucker. At home, if you’re not confident, keep it conservative and do the center-back adjustment only. Small wins add up.
One detail that separates looks tailore from looks repaire: keep belt loops aligned. If you remove and reattach a waistband, the loops can drift, and then your eye catches it even if you can’t name why. Also, if the garment has a contoured waistband with interfacing, press as you go with a medium iron and a press cloth. Interfacing hates being cooked. You want crisp, not shiny.
When I’m thrifting, I buy bottoms for hip fit first. Waist is negotiable. Hips are a heartbreak.
Hemming thrifted dresses with lining, lace, or a tricky edge
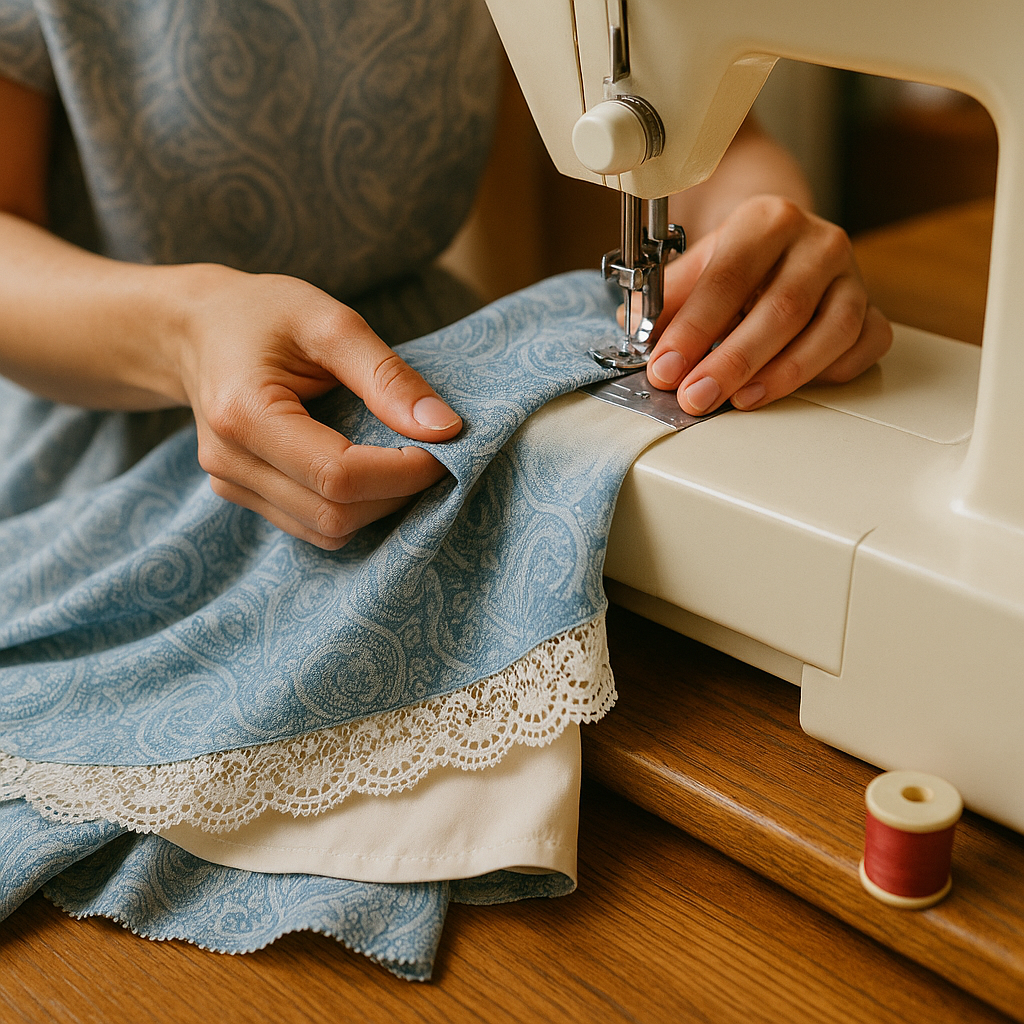
I can spot a thrifted dress from across a room when the hem is doing too much. The bottom edge is stretched, the lining is peeking out, or the previous owner did that emergency iron-on tape thing and now the fabric has a stiff, rippled ridge. The good news: hemming is one of the highest return alterations you can pay for or do yourself, as long as you respect what you’re working with.
If there’s a lining, I decide early whether I’m shortening both layers or letting the lining hang a little shorter (my preference). A lining that sits about 1 inch shorter than the outer fabric behaves better when you walk. It doesn’t grab your legs, and it won’t flash at the bottom edge. If the lining is attached at the hem, you can’t just lop it off and call it a day. You need to separate the layers, hem them individually, then reattach or tack them so they move together.
For tricky edges like lace, scallops, or anything with a decorative border, I avoid cutting through the design. Instead, I shorten from above the border if the construction allows it. That often means opening a seam (usually a side seam) and removing length in the middle of the skirt, then rejoining so the pretty edge stays intact. This is exactly where an experienced tailor earns their money, because they can keep the motif lined up and the seam smooth. When I try it at home, I do it only if there’s enough seam allowance to work with and the pattern repeat is forgiving. If it’s a bold lace with obvious scallops, I take it in.
Fabric matters, too. Slippery poly crepe likes a narrow hem and a cool iron. Linen wants a pressed, slightly wider hem that holds a crease. Knit dresses are their own beast: a twin needle on a home machine can work, but if you want that flat, store-bought finish, a coverstitch (or a tailor with the right setup) is the move.
My thrift rule: I don’t buy a dress just because it’s long. I buy it because the top half fits and I can picture where the new hem should hit, right down to what shoes I’d wear with it.